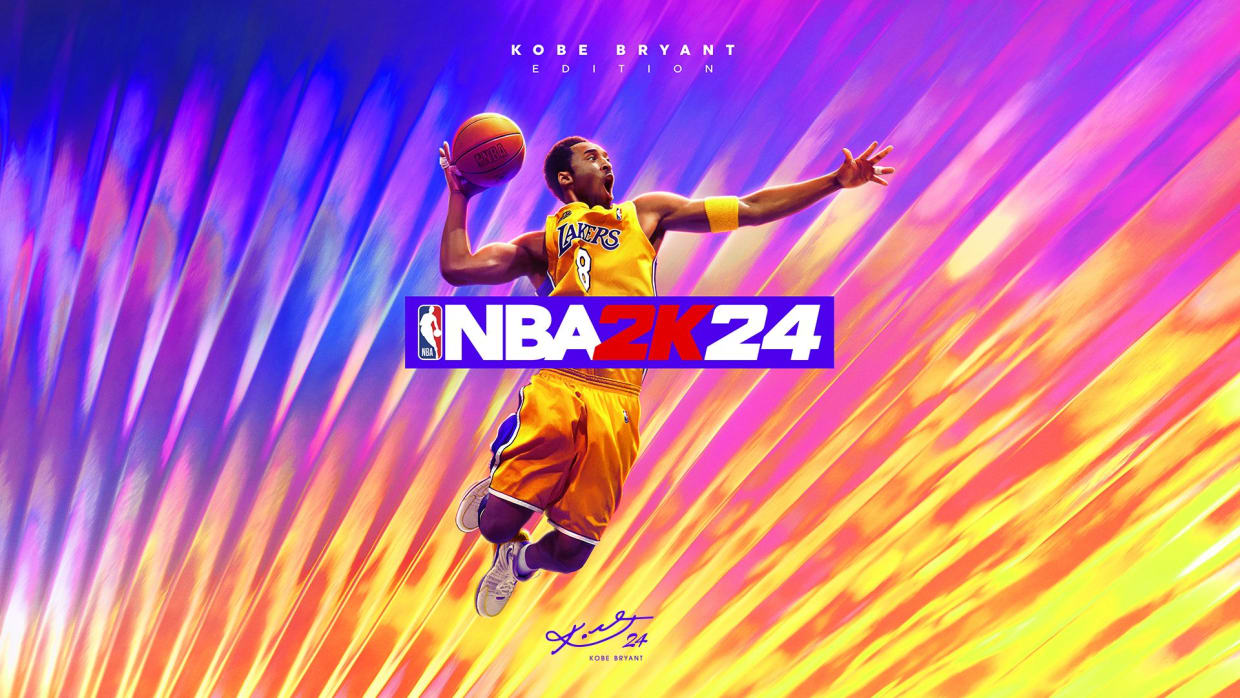
Uploading images to NBA 2K24 is straightforward. This guide will show you how.
Whether you are customizing your player or team, adding personal images can make your gaming experience unique. NBA 2K24 offers many customization options. One popular feature is uploading personal images. This allows you to add your own photos to the game.

Credit: www.youtube.com
Preparation
Preparation is key when uploading images to NBA 2K24. A well-prepared image ensures a smooth upload process and a polished final product. Let’s dive into the essential steps to get your images ready.
Choosing The Right Images
Select images that align with your team’s branding or personal style. Make sure the images are clear and visually appealing. Avoid images with too much text or complex backgrounds. Simple, high-quality images work best.
Image Format And Size Requirements
NBA 2K24 accepts specific image formats and sizes. Ensure your image is in JPEG or PNG format. The image size should not exceed 1024×1024 pixels. Larger images may not upload correctly. Resize your images using an online tool or photo editing software.
Keep the file size under 2MB to ensure quick uploads. Large files can slow down the upload process or fail to upload. Compress images if necessary to reduce their file size. This maintains quality while keeping the file manageable.

Credit: www.dexerto.com
Creating An Account
Creating an account on NBA 2K24 is the first step to uploading images. This process is simple and ensures you can enjoy all features. Let’s break down the steps to get you started.
Registering On Nba 2k Website
To begin, visit the NBA 2K website. Look for the ‘Sign Up’ button. Click it to start the registration process. Fill in your details. Use a valid email address. Create a strong password. Confirm your password. Then, click ‘Submit’. Check your email for a verification link. Click the link to verify your account.
Linking Your Game Profile
Next, you need to link your game profile. Log in to your newly created account. Go to the ‘Profile’ section. Find the option to link your game profile. You may need to enter your game credentials. Follow the prompts to complete the linking process. Once linked, you can upload images to your NBA 2K24 profile.
Uploading Images
Personalizing your NBA 2K24 game by uploading images can be fun. This guide will show you how to upload images step-by-step. Follow these instructions to enhance your gaming experience.
Accessing The Upload Portal
To upload images, you must first access the upload portal. Follow these steps:
- Open your game and go to the main menu.
- Select the “Features” option.
- Choose “Create Roster” from the list.
- Go to the “Images” section to find the upload portal.
Step-by-step Upload Process
Now that you have accessed the upload portal, follow these steps to upload your images:
- Click on the “Upload Image” button.
- Select the image file from your device.
- Ensure the image is in the correct format (JPEG or PNG).
- Wait for the upload to complete. This might take a few seconds.
- Once uploaded, the image will appear in your gallery.
Note: Only use images that comply with the game’s guidelines.
Credit: www.nintendo.com
In-game Application
Uploading images to NBA 2K24 can add a personal touch to your gaming experience. The In-Game Application simplifies this process, allowing you to enhance your players and teams. Follow these steps to make your game more unique and engaging.
Locating Your Uploaded Images
To find your uploaded images in NBA 2K24, navigate to the MyPlayer or MyTeam menus. Here, you will find an option labeled Custom Images. This section contains all the images you have previously uploaded. Use the search bar if you have many images.
Make sure your images are in the correct format and size. The system supports common file types like JPEG and PNG. Smaller file sizes load faster and reduce lag during gameplay. Keep this in mind for a seamless experience.
Applying Images To Players And Teams
Once you locate your images, the next step is applying them. Go to the Customization menu. Here, you can select Apply Custom Images. Choose a player or team you want to customize. Select the image you prefer and apply it.
You can use images for different aspects like jerseys, logos, and player tattoos. This gives a unique look to your team. Experiment with various images to see what works best.
For a more organized view, use a table to manage your images and their purposes. This can be helpful if you have many images to keep track of.
| Image Name | Purpose |
|---|---|
| Team Logo 1 | Primary Team Logo |
| Player Tattoo 1 | Player Arm Tattoo |
| Jersey Design 1 | Home Jersey |
In summary, using the In-Game Application to upload and apply images in NBA 2K24 is straightforward. With a little effort, you can personalize your gaming experience to reflect your style. Enjoy creating unique looks for your players and teams!
Troubleshooting Common Issues
Uploading images to NBA 2K24 can be easy, but sometimes, problems arise. This section helps you solve common issues. Whether your image is not showing up or the quality is poor, these tips will assist you.
Image Not Showing Up
If your image is not showing up, check the file format first. Ensure it is a supported format like JPEG or PNG. If the format is correct, verify the image size. Large images may not upload properly. Resize your image to meet the game’s requirements.
- Ensure the file format is JPEG or PNG.
- Resize the image if it is too large.
- Check your internet connection.
- Clear your browser cache.
Still having trouble? Restart the game. Sometimes, a simple restart fixes the issue. If not, try uploading a different image to see if the problem persists.
Image Quality Problems
Image quality problems can be frustrating. To ensure the best quality, use a high-resolution image. Low-resolution images can appear pixelated. Also, avoid compressing the image too much.
- Use high-resolution images.
- Avoid excessive compression.
- Check the image dimensions.
- Ensure good lighting in the original photo.
If you still see quality issues, double-check the upload settings in NBA 2K24. Sometimes, adjusting these settings can improve the image appearance.
Here is a table summarizing the common issues and their solutions:
| Issue | Solution |
|---|---|
| Image Not Showing Up | Check file format, resize image, restart game |
| Image Quality Problems | Use high-resolution images, avoid compression |
Advanced Tips
Uploading images to NBA 2K24 can be a fun way to personalize your gaming experience. But, for those seeking to elevate their skills, exploring advanced tips can make a significant difference. Whether you’re using professional editing software or leveraging community resources, there are several ways to ensure your custom images stand out.
Using Editing Software For Better Quality
Editing software like Adobe Photoshop or GIMP can help improve image quality. These tools offer features to enhance resolution, adjust colors, and remove imperfections. Start by resizing your image to fit the game’s requirements. Ensure the image maintains a high resolution to avoid pixelation. Use the color correction tools to make your image more vibrant. Bright and clear images look better in-game.
Community Resources For Custom Images
Many NBA 2K24 players share their custom images online. Websites and forums often have free resources. These communities can provide templates and high-quality images. Joining these forums can also give you tips from experienced players. Sharing your images with the community can also improve your skills. It’s a great way to learn and get feedback.
Frequently Asked Questions
How Do I Upload Images To Nba 2k24?
To upload images to NBA 2K24, use the in-game features. Navigate to the “MyTeam” or “MyPlayer” mode. Follow the prompts to upload your desired images from your device.
Can I Use Custom Images In Nba 2k24?
Yes, you can use custom images in NBA 2K24. Upload your images through the game’s customization features. Ensure the images meet the game’s requirements.
What File Formats Are Supported For Image Uploads?
NBA 2K24 supports common image formats like JPEG and PNG. Make sure your images are in these formats. This ensures compatibility.
Where Do I Find The Upload Option In Nba 2k24?
Find the upload option in the customization settings. Usually, it’s under “MyTeam” or “MyPlayer” mode. Follow the on-screen instructions.
Conclusion
Uploading images to NBA 2K24 is simple and fun. Follow the steps mentioned. Customize your game experience with ease. Adding personal touches makes gameplay more enjoyable. Remember to save your progress. Now, you can showcase your creativity in NBA 2K24.
Happy gaming.